


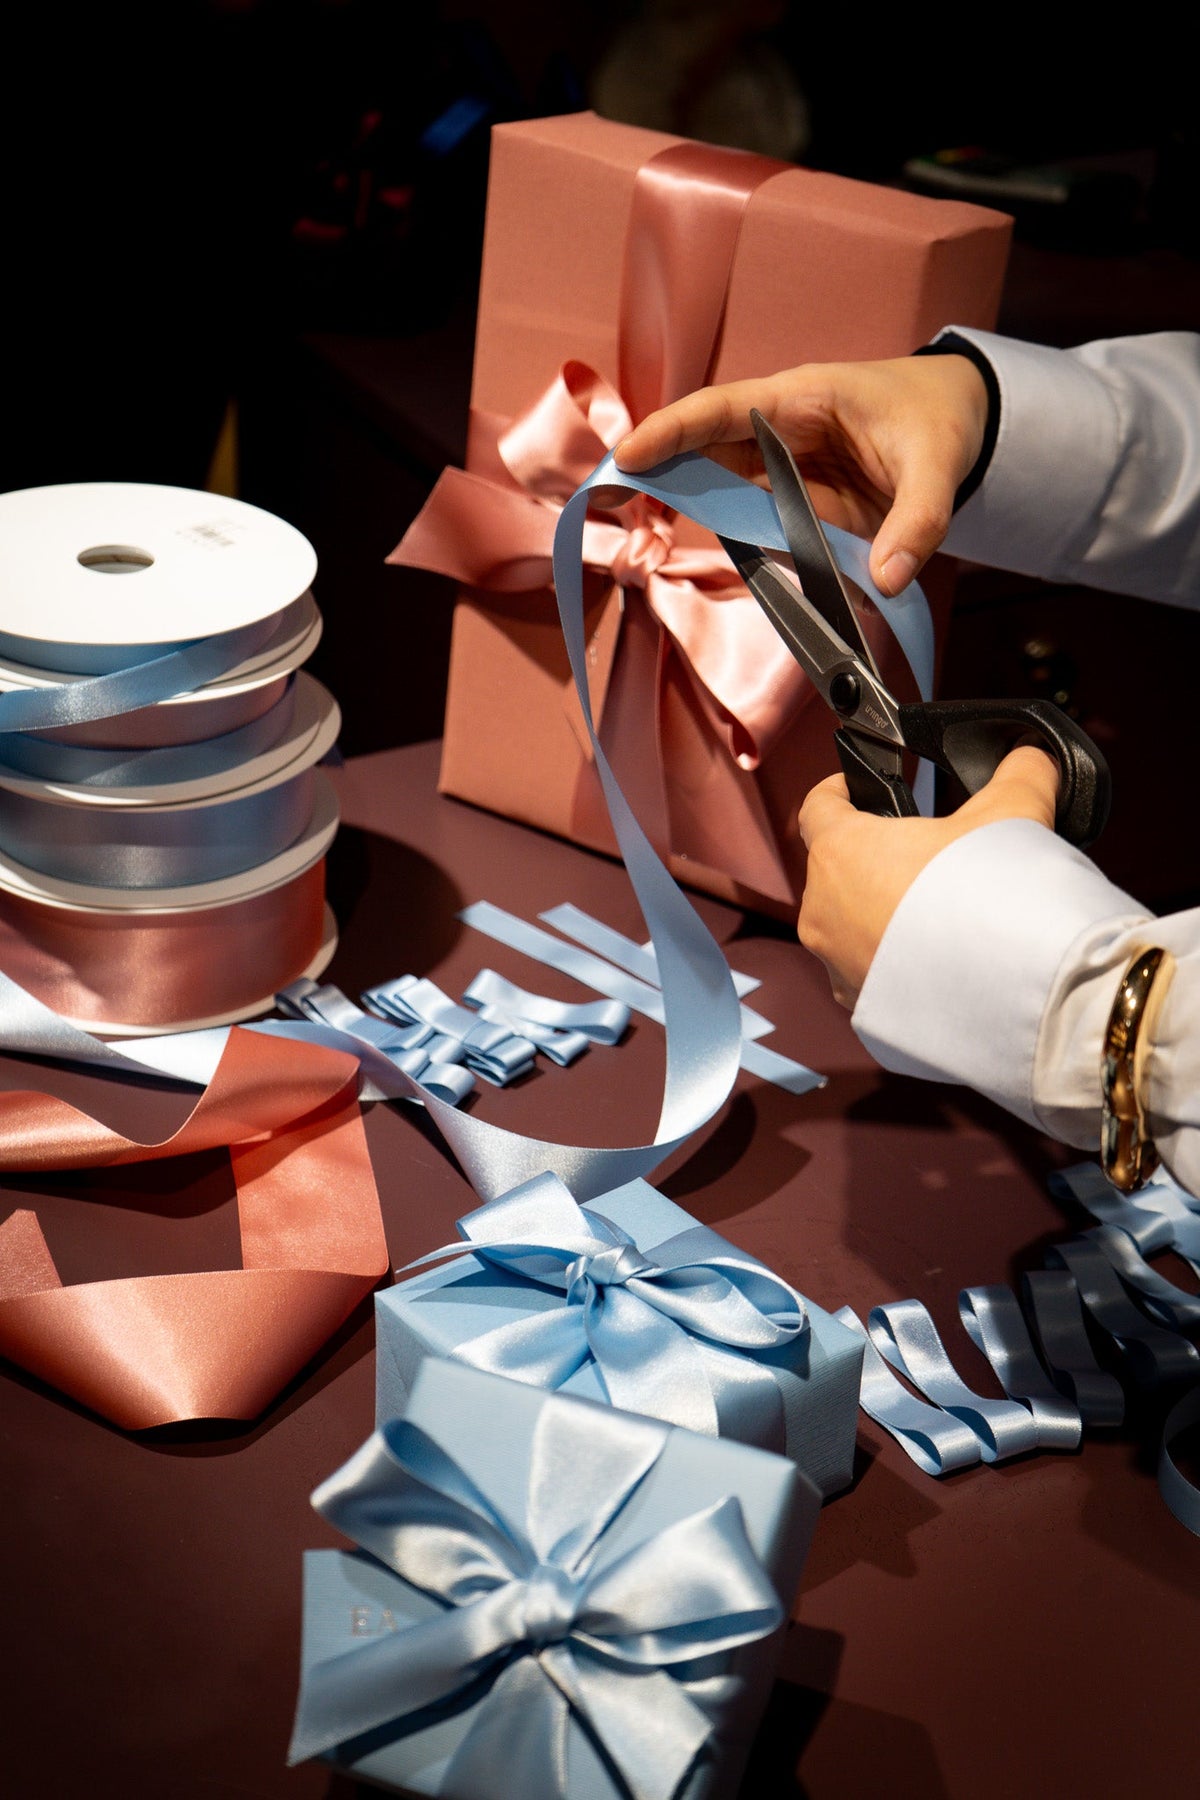
Some presents look as though they were wrapped in a hurry beneath the stairs. Others look as though they arrived from somewhere wonderful. The difference is rarely talent. It is a handful of small habits, learned slowly and practised often.
Here are seven of ours, straight from the Roxy Wraps studio.
1. Only ever wrap a box
This is the secret that changes everything. Professional wrappers do not wrap awkward shapes: no bottles, no soft jumpers, no oddly angled toys. We box them first.
A box gives you clean lines, sharp corners and flat faces for the paper to rest on. Keep a stash of plain boxes in different sizes through the year, and every gift, however strange its shape, becomes simple to wrap beautifully.
2. Use double-sided tape, always
Visible tape is the quickest way to make a gift look homemade. Double-sided tape sits hidden beneath the paper, so seams vanish and every edge looks seamless.
Run a thin strip along the inside of each final fold and press firmly. The result is clean and polished, with nothing to catch the eye but the paper itself.
3. Measure, then trim
Too much paper creates bulk, and bulk creates messy ends. Wrap the paper around the box with just a few centimetres of overlap, then trim the excess before you begin. At each end, the paper should reach just over halfway up the side of the box.
Less paper means crisper folds and a neater finish.
4. Fold the raw edge under
Before you secure your final seam, fold the cut edge of the paper back on itself by about a centimetre. It hides any wobbly cuts and gives the seam a smooth, finished line, like the hem on a well-made garment.
5. Invest in proper scissors
Kitchen scissors will not do. Blunt blades tear and chew the paper, leaving ragged edges that no amount of folding can hide. Choose a sharp pair kept only for wrapping, and they will glide through paper in one clean stroke.
And never cut tape with them. Tape leaves a sticky residue on the blades that drags and snags the paper every time. Tear your tape by hand or use a dispenser, and save your scissors for paper and ribbon alone.
6. Buy your ribbon from a haberdashery
Skip the gift aisle and visit a haberdashery instead. Look for double satin ribbon, which is glossy on both sides, so it looks beautiful from every angle, even when it twists.
Buy it on big rolls. It works out far more economical, and you will never be caught short with only a few frayed inches left on Christmas Eve. Two or three colours that suit your paper will see you through the whole season.
7. Finish the ends with care
The final touch is in the tails of your bow. Cut each ribbon end at a sharp angle, or fold it in half and snip upwards to create a swallowtail. Then add a gift tag, a sprig of winter greenery or a single dried orange slice.
It takes seconds, and it is the detail people remember.
Wrapping, made easy
Every one of these habits is simple on its own. Together, they turn an ordinary parcel into something that feels like a gift before it is even opened.
And if you would rather leave it to us, you will find the Roxy Wraps team on the 4th floor of Liberty London until 24 December, ready to wrap your gifts by hand.
With love, Katrina and the Roxy Wraps team


